Deploy a page
1. Introduction
From accessing specific features to generating the deployed website, each step is outlined to facilitate the employee training process effectively.
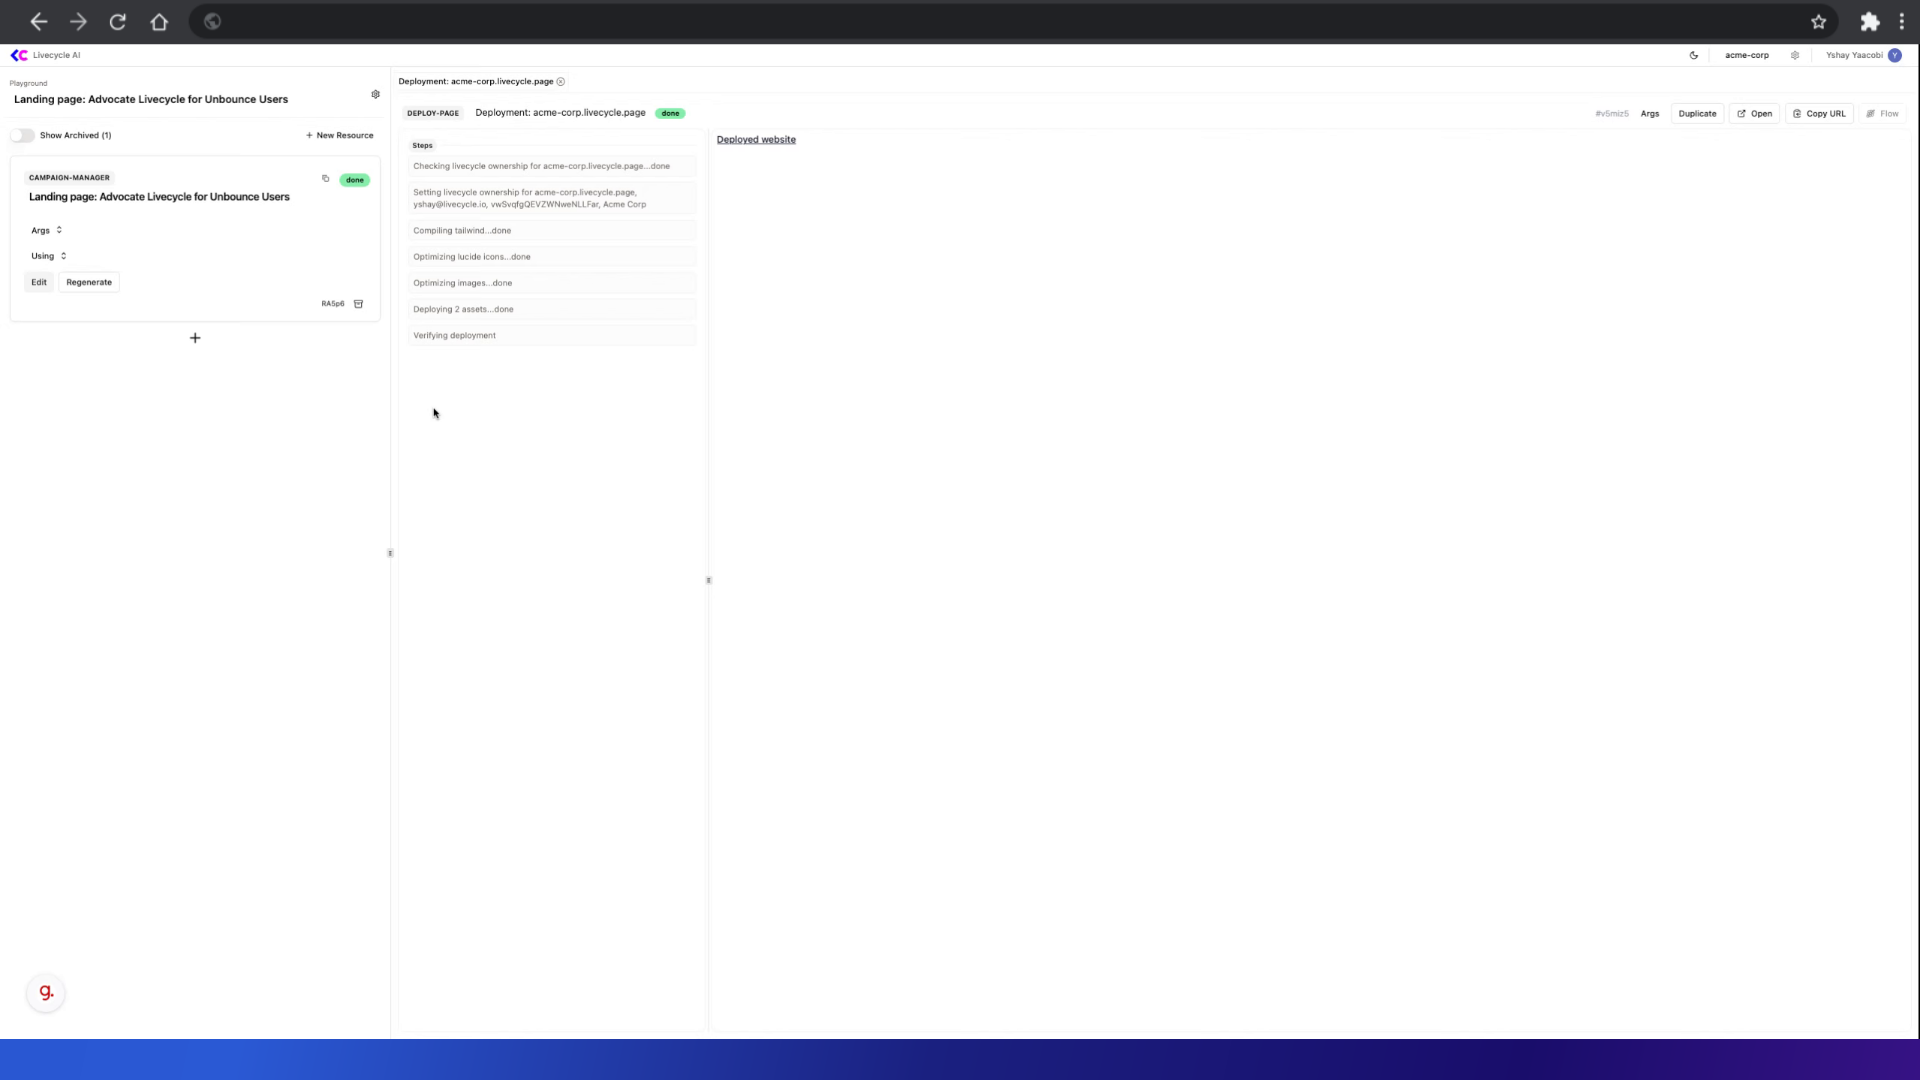
2. Click "campaign-manager"
Access the campaign manager.
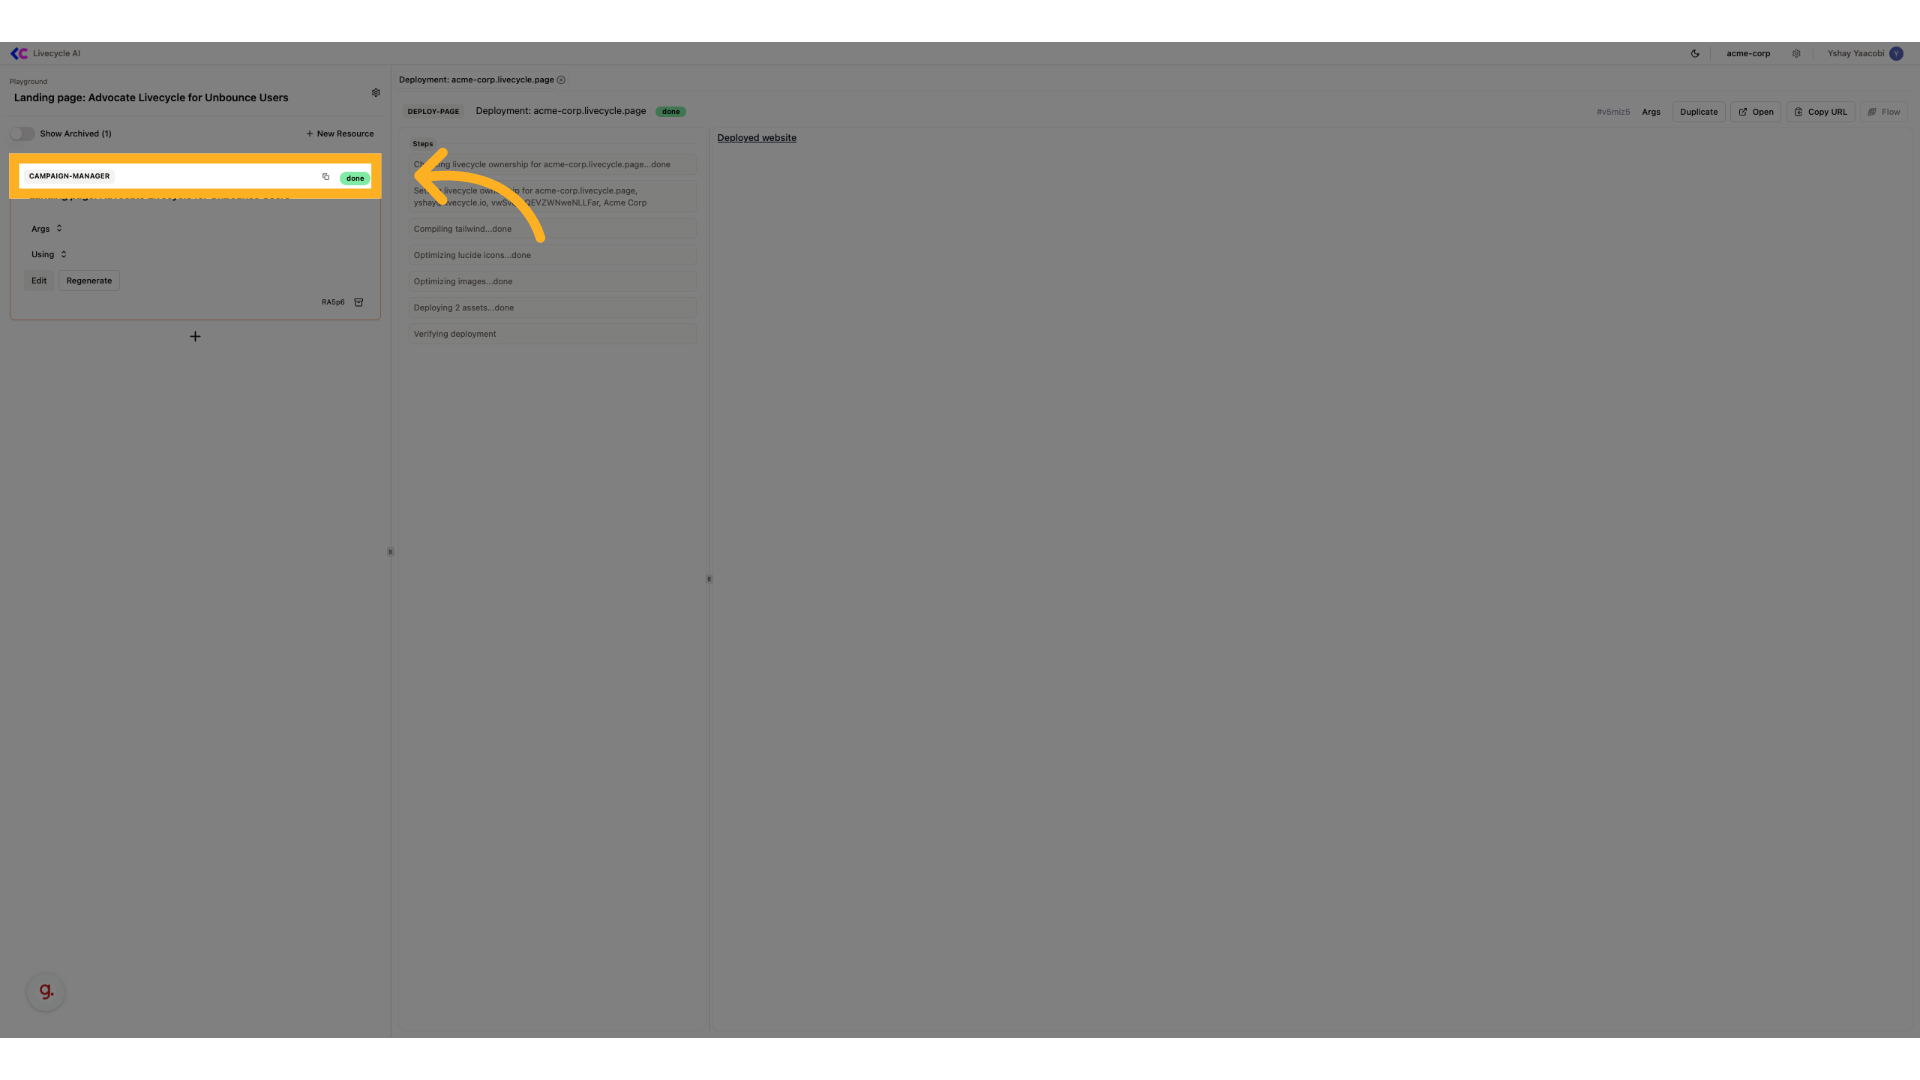
3. Copy URL from campaign manager
Copy URL from campaign manager
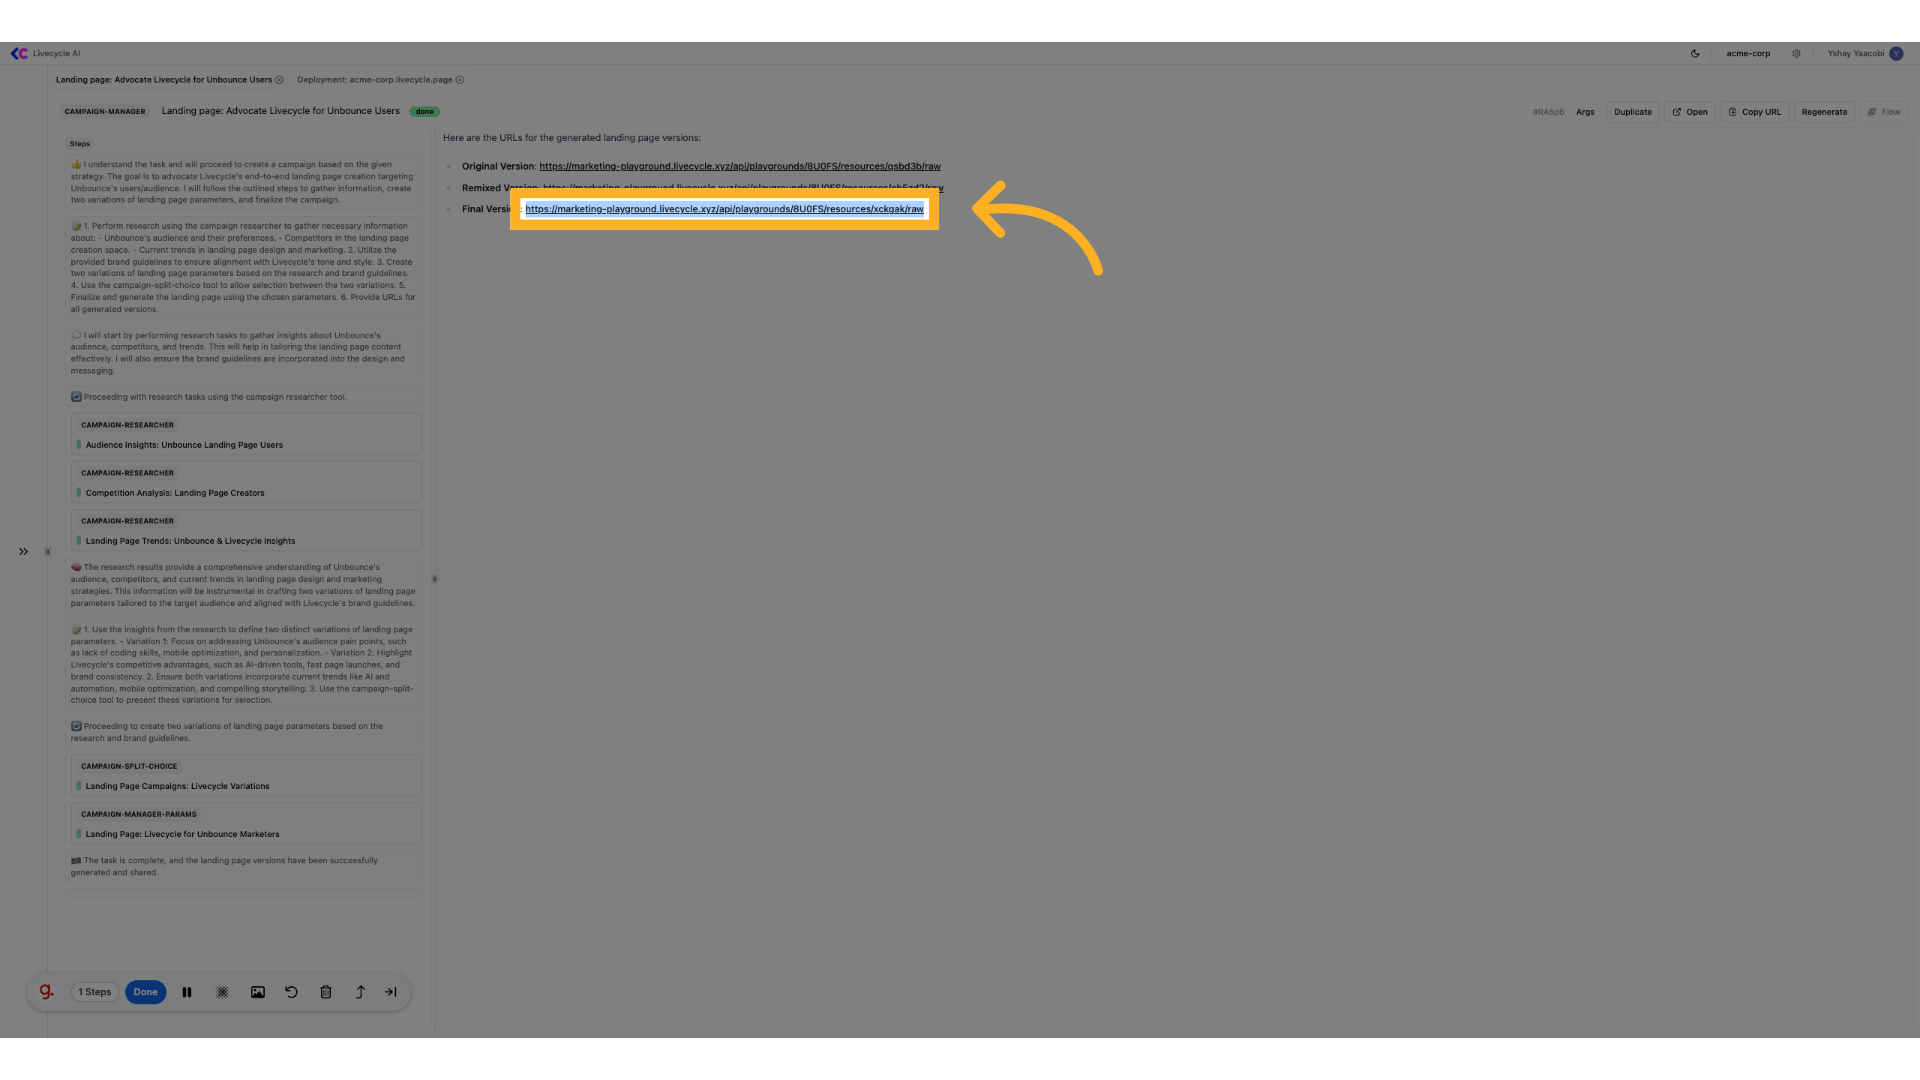
4. Copy the url of the page you want to deploy
You can also click Copy URL from any website resource
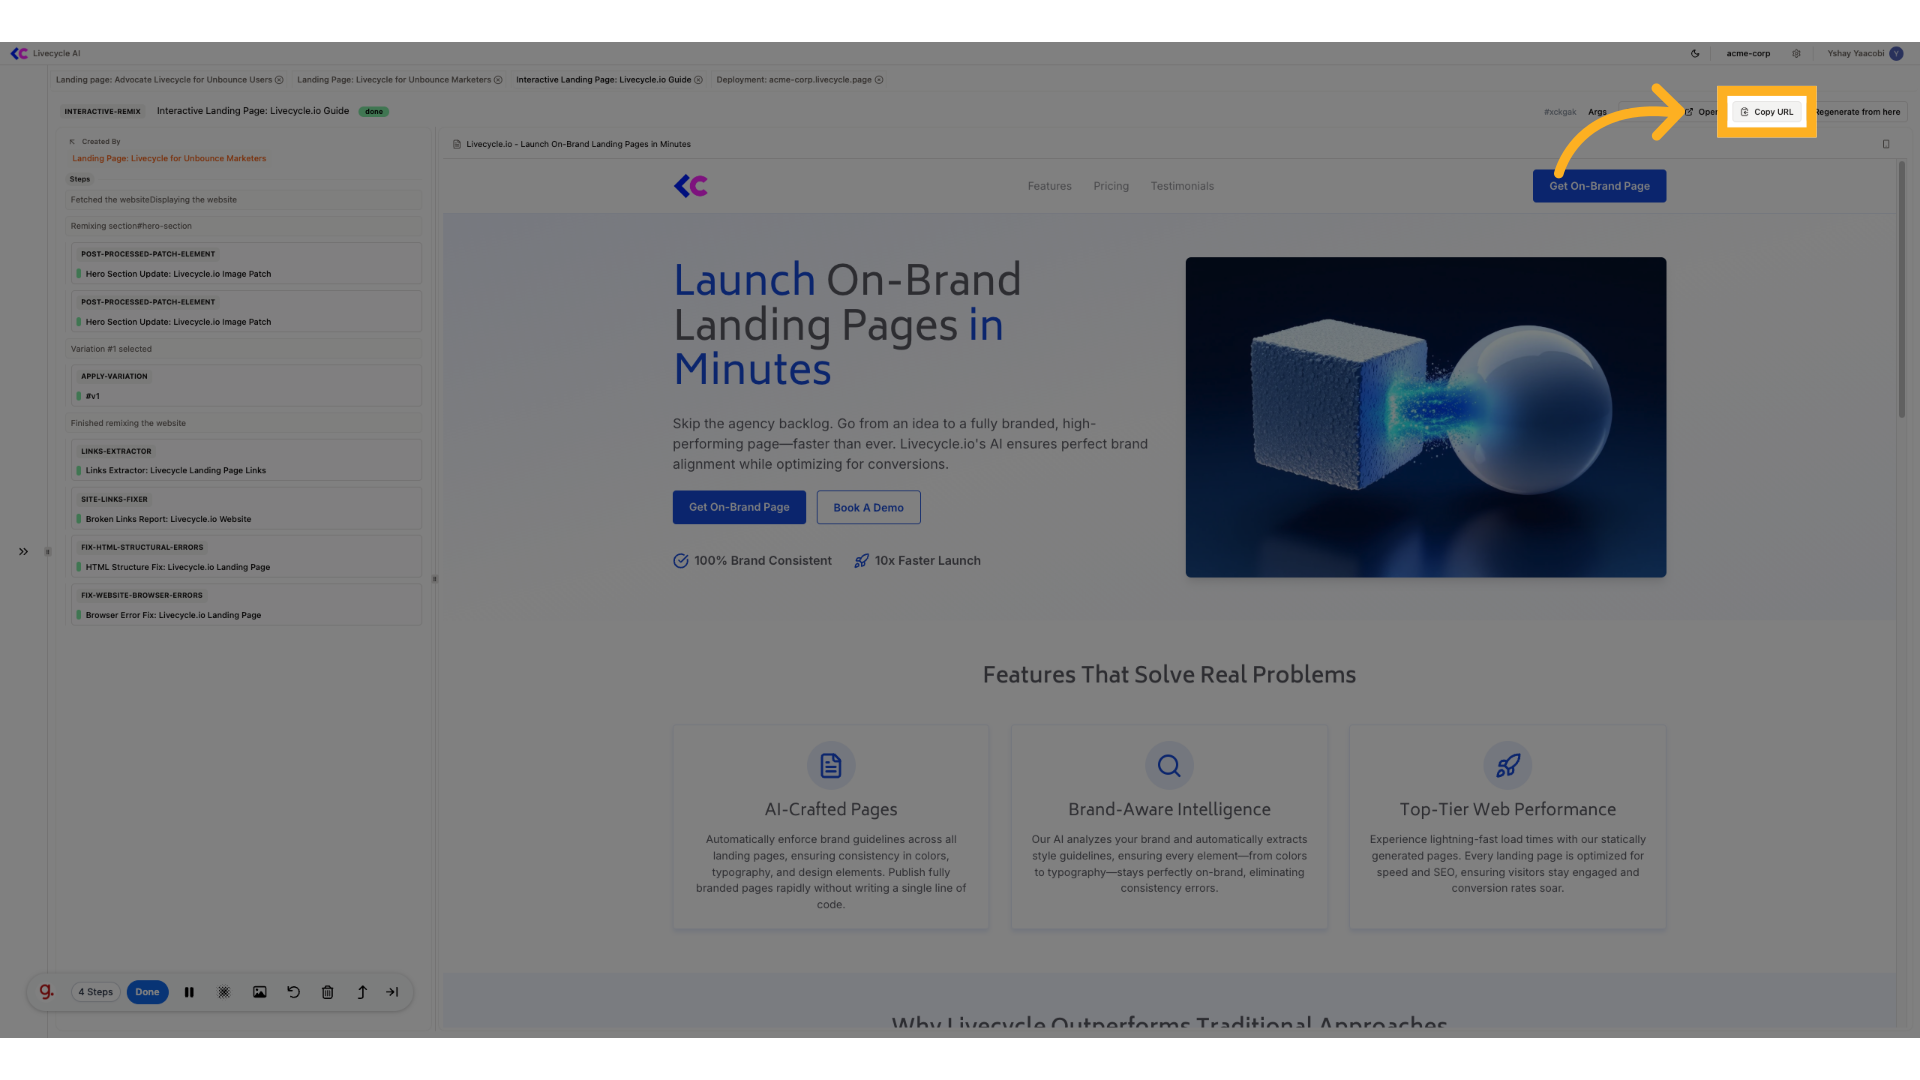
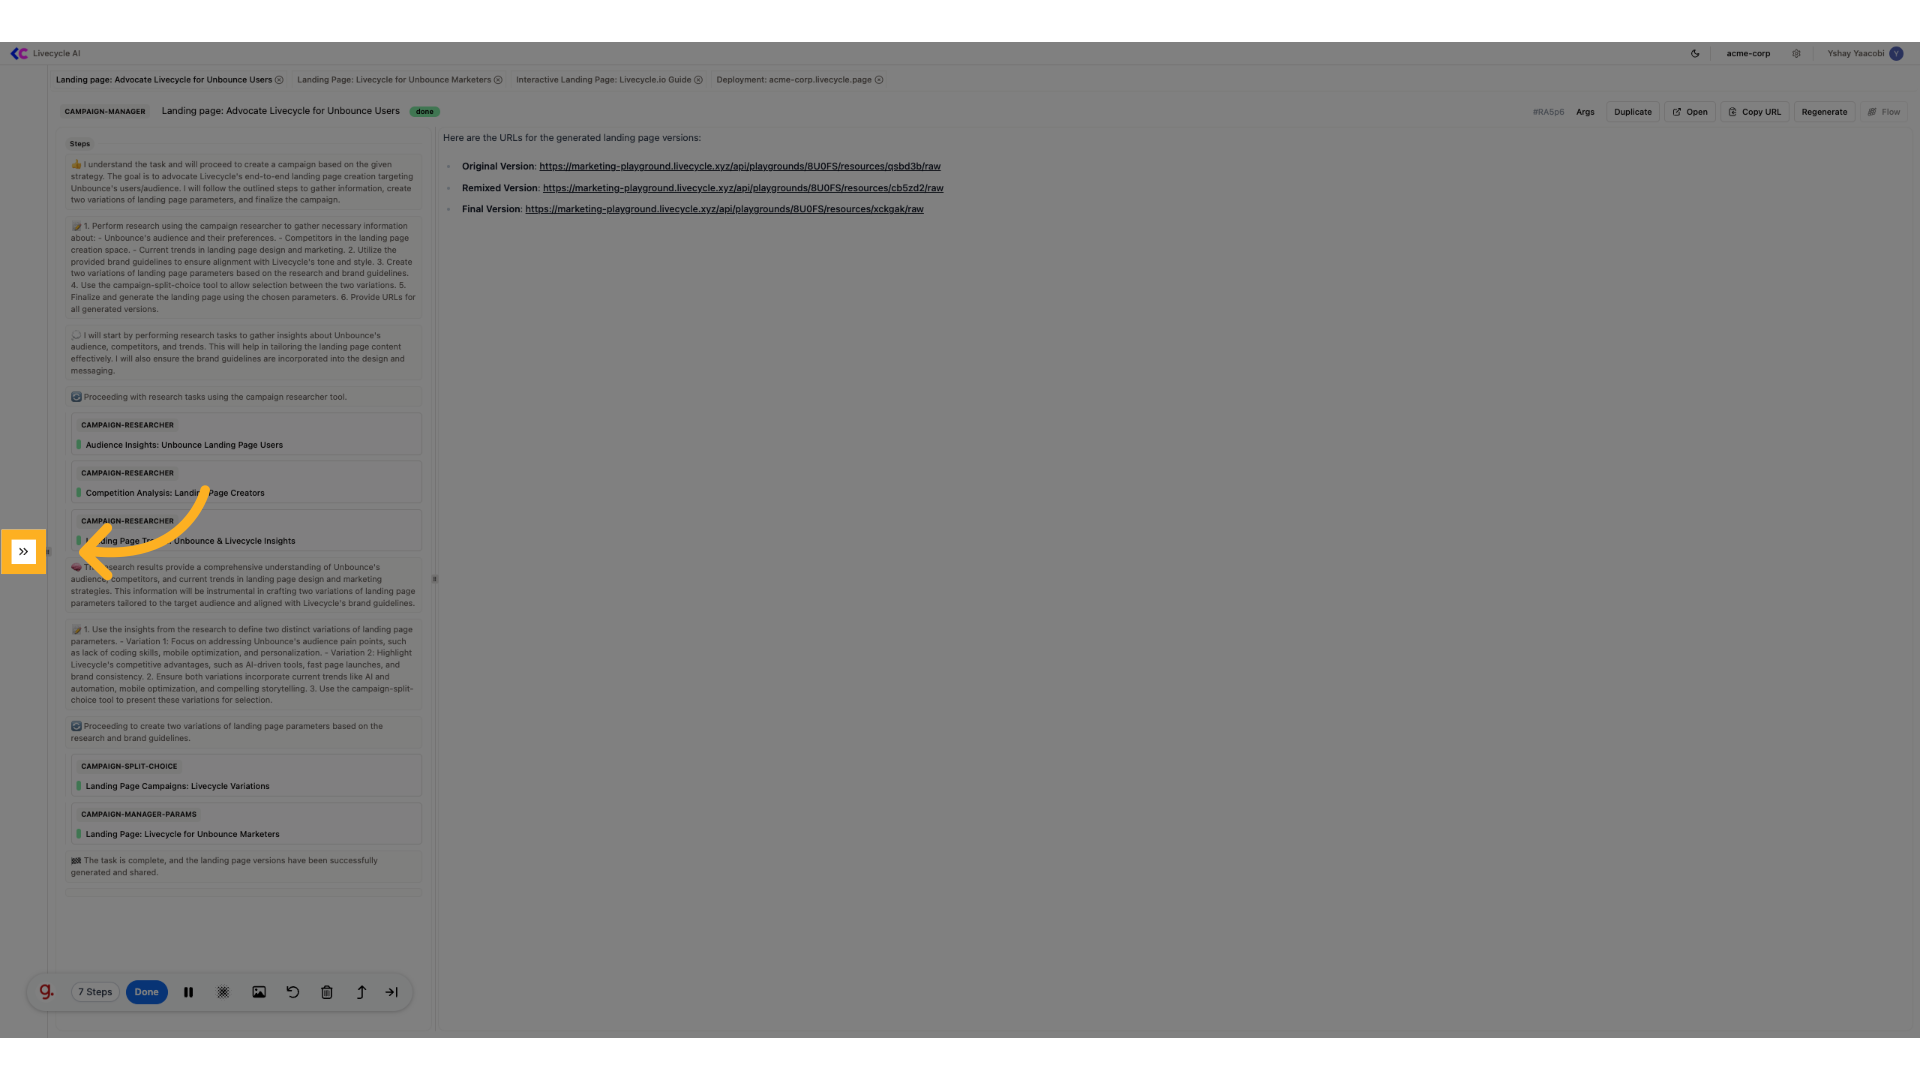
5. Open the left Panel
Open the left panel if closed
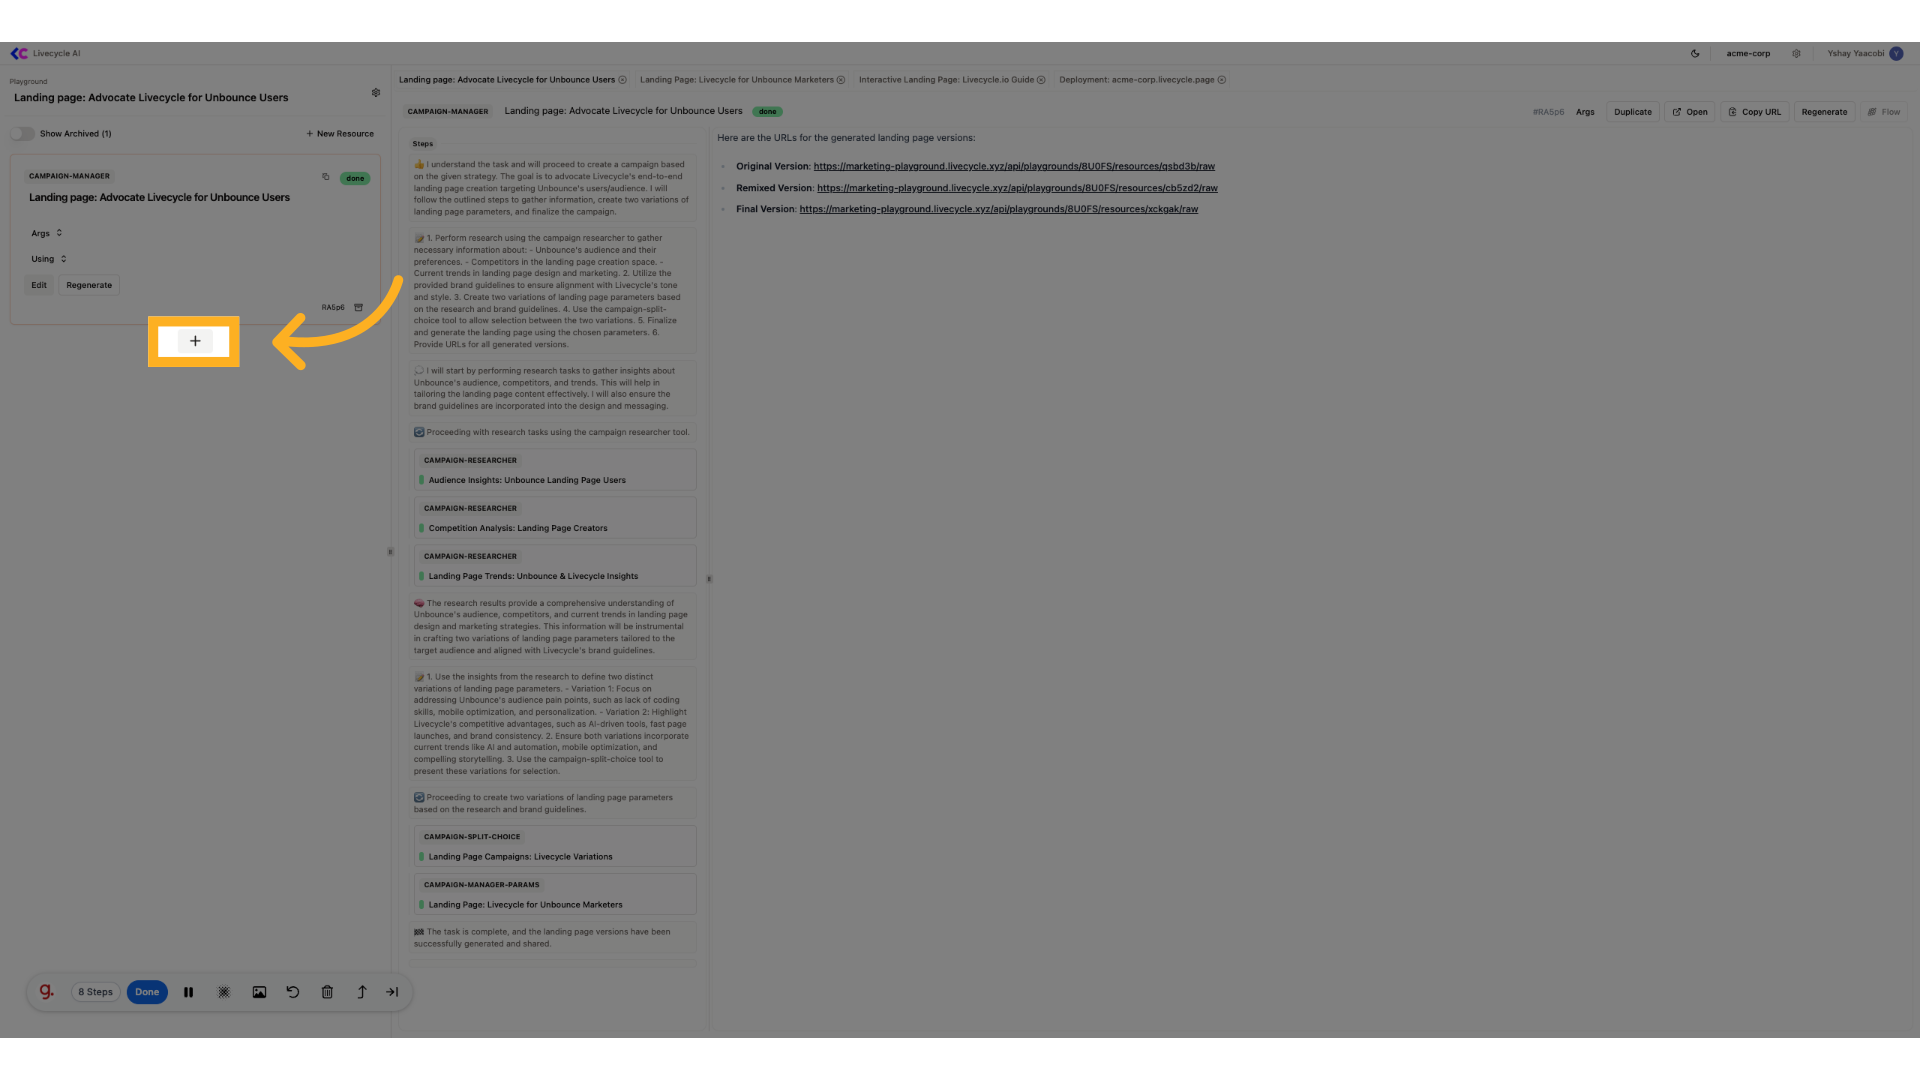
6. Create a new Resource
Create a new Resource
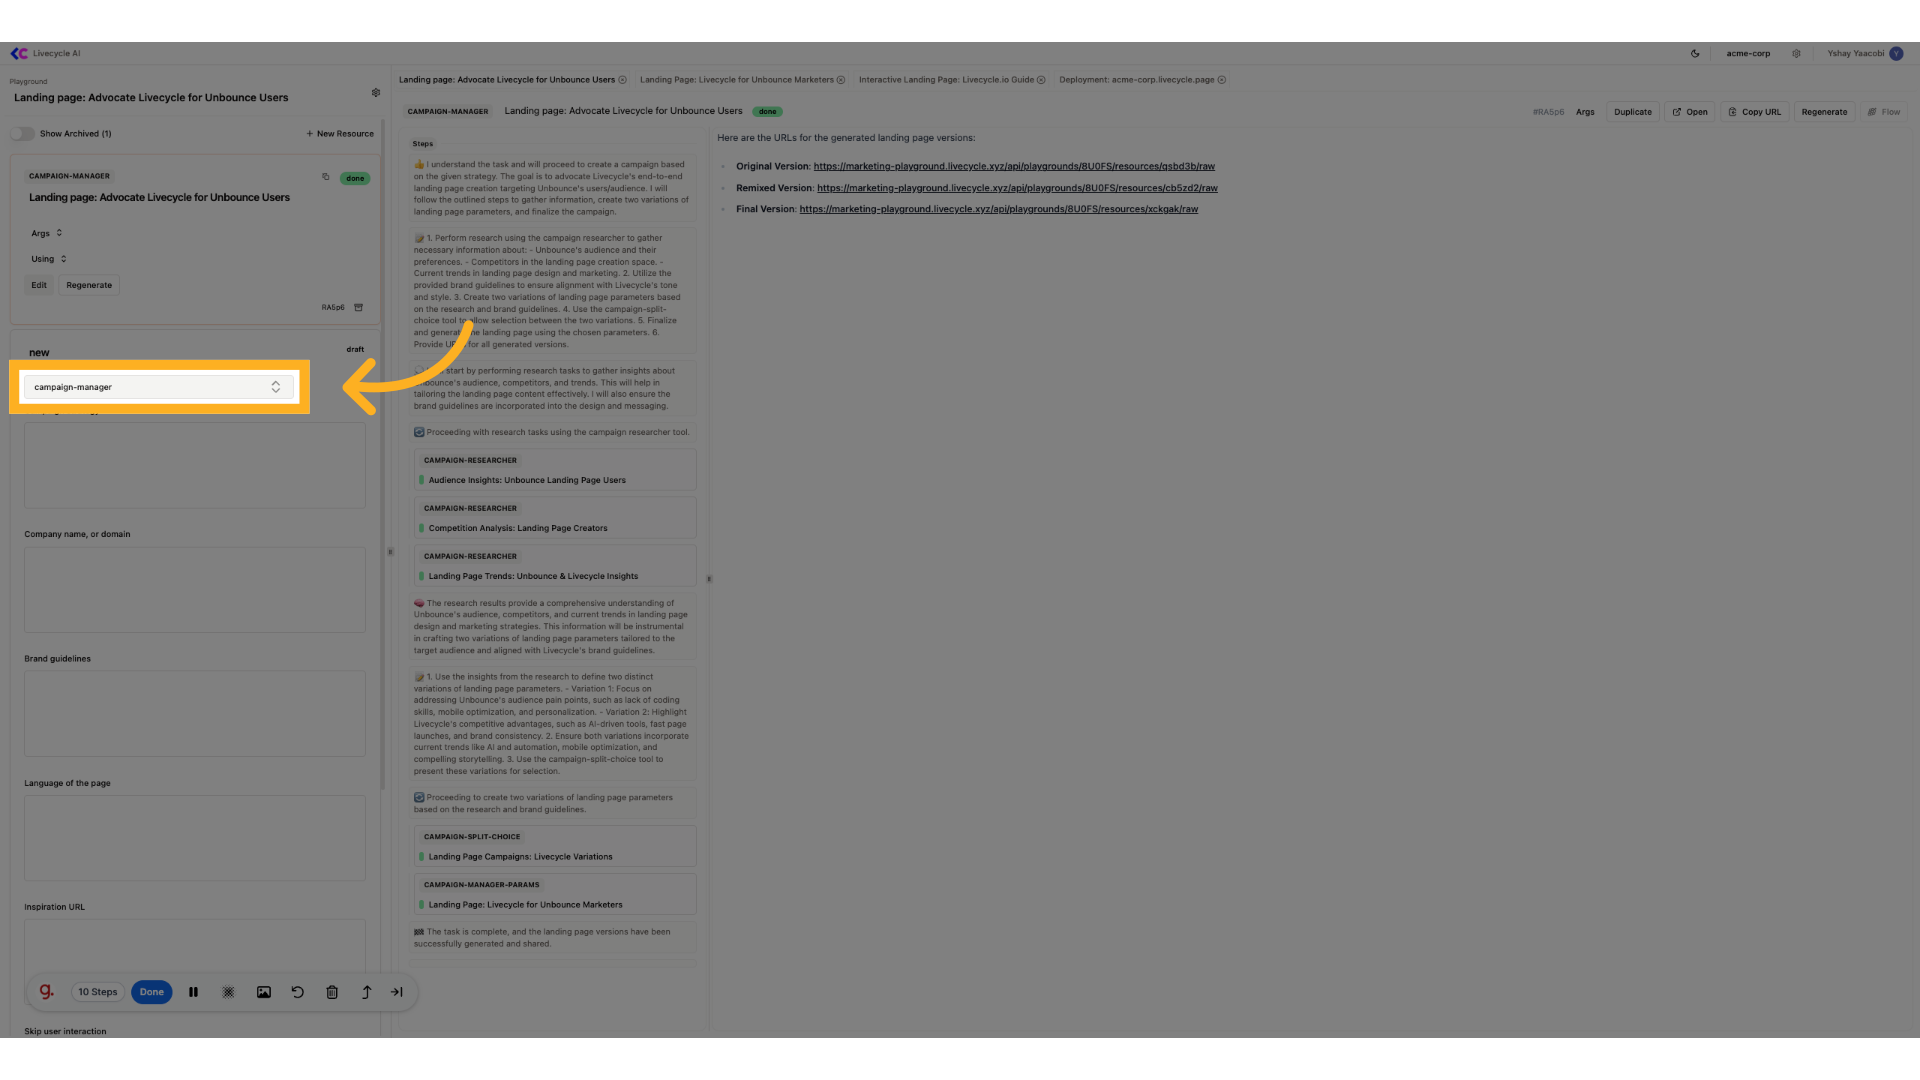
7. Choose a tool
Choose a tool
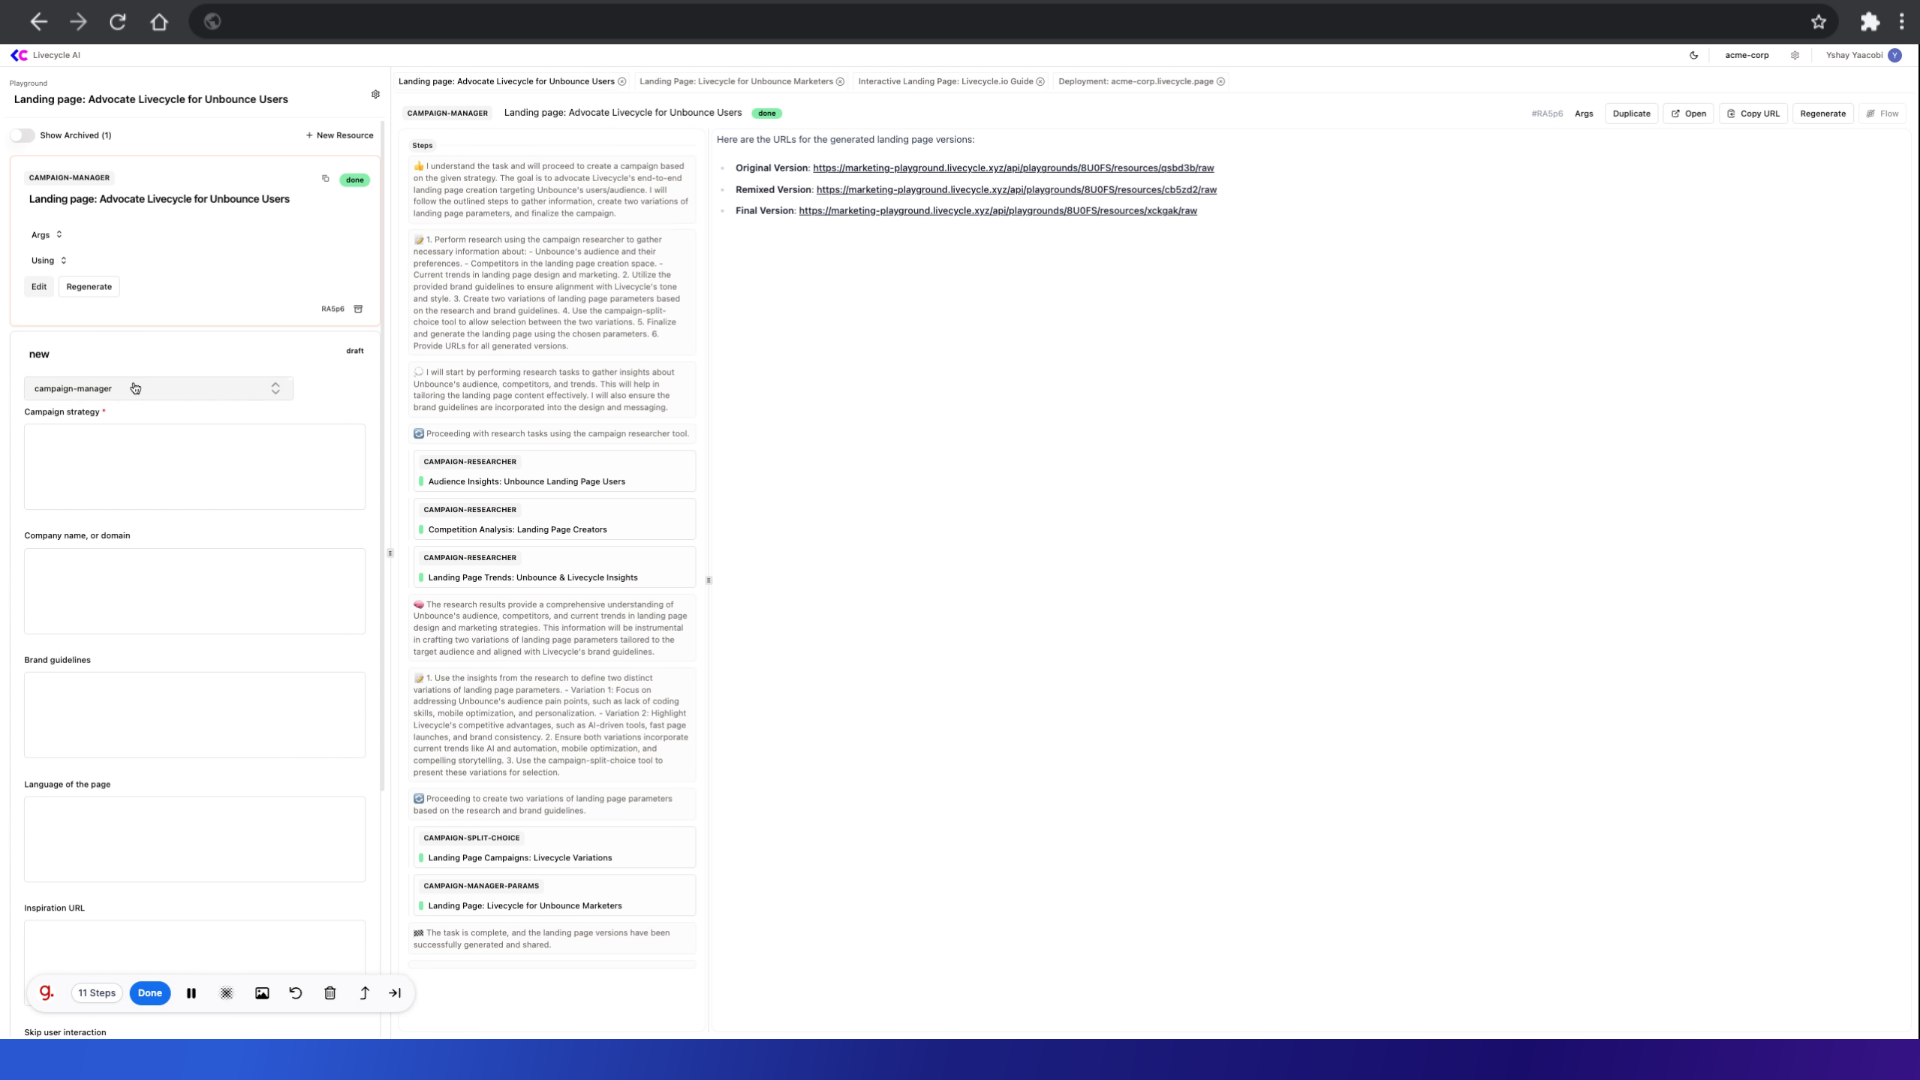
8. Look for the deploy tool
Fill in "deploy"
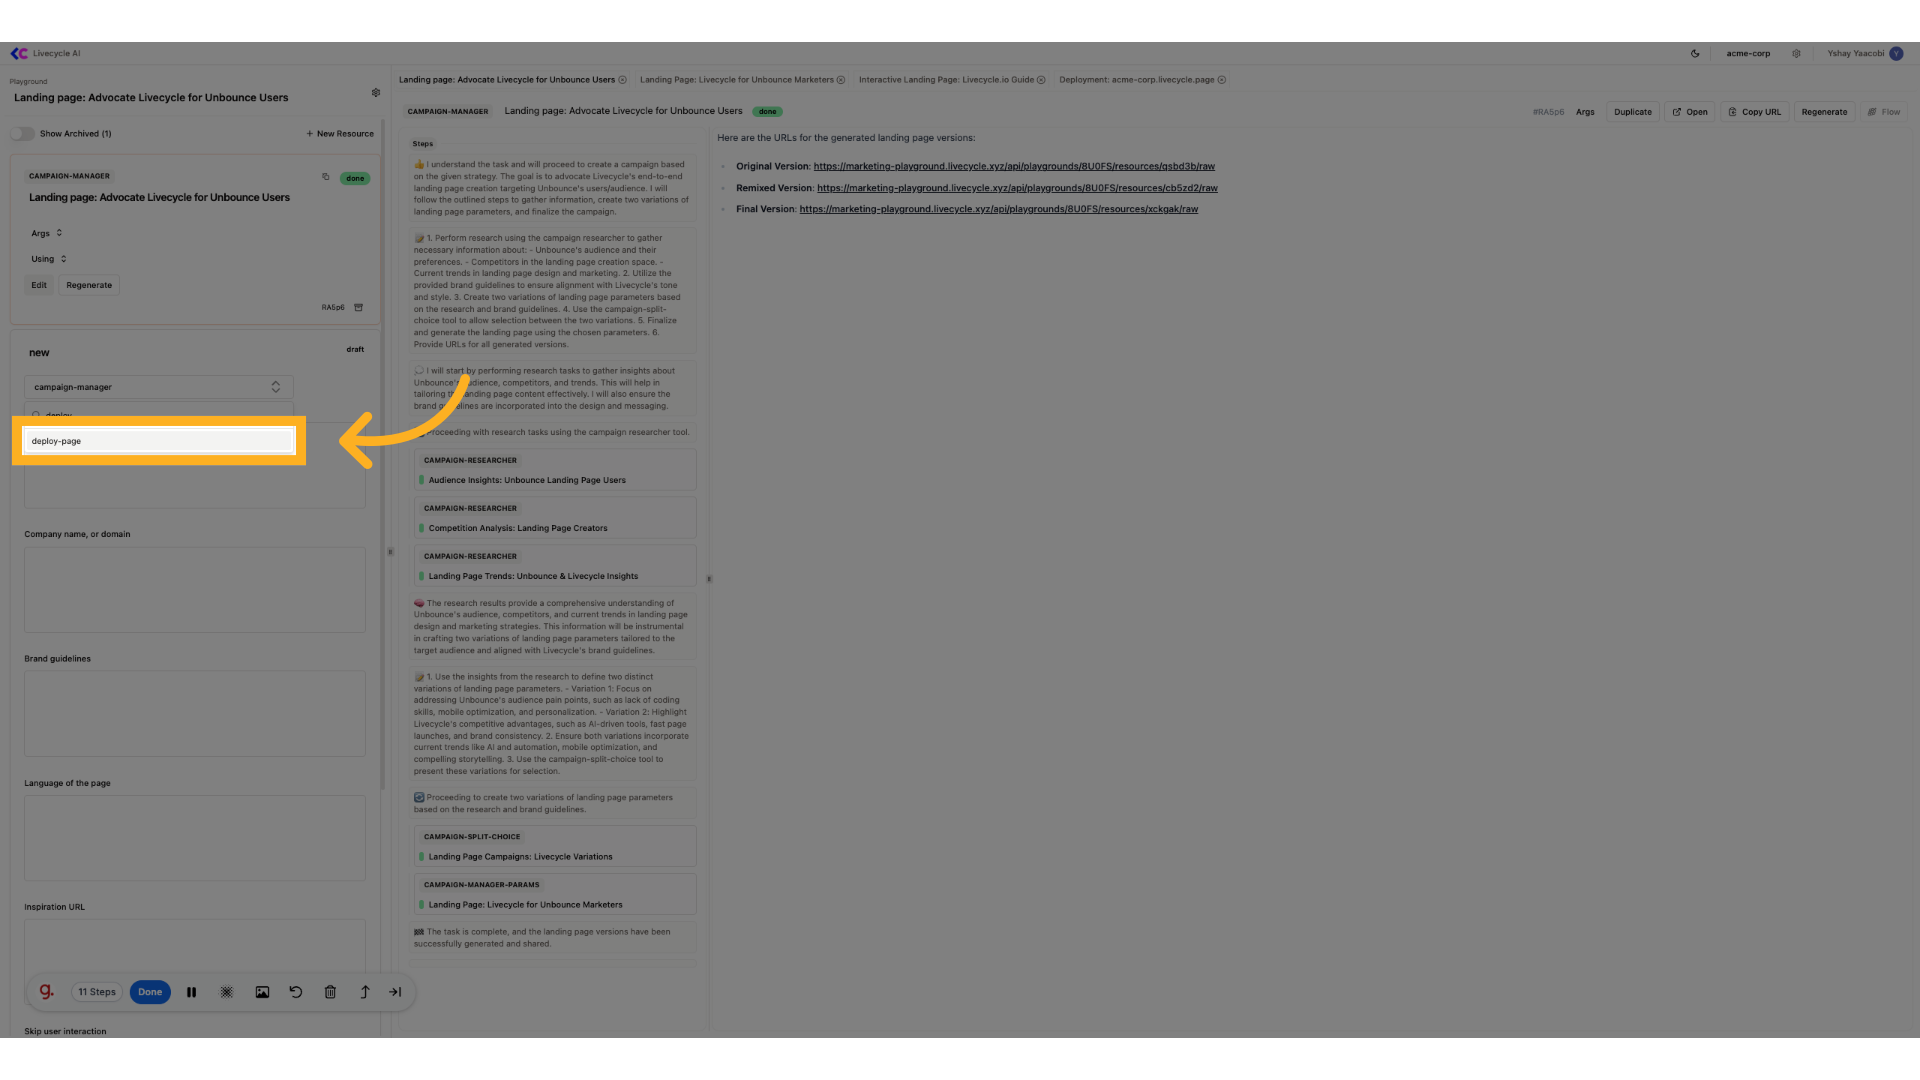
9. Click "deploy-page"
Select deploy page, this tool can help us deploy our page to production
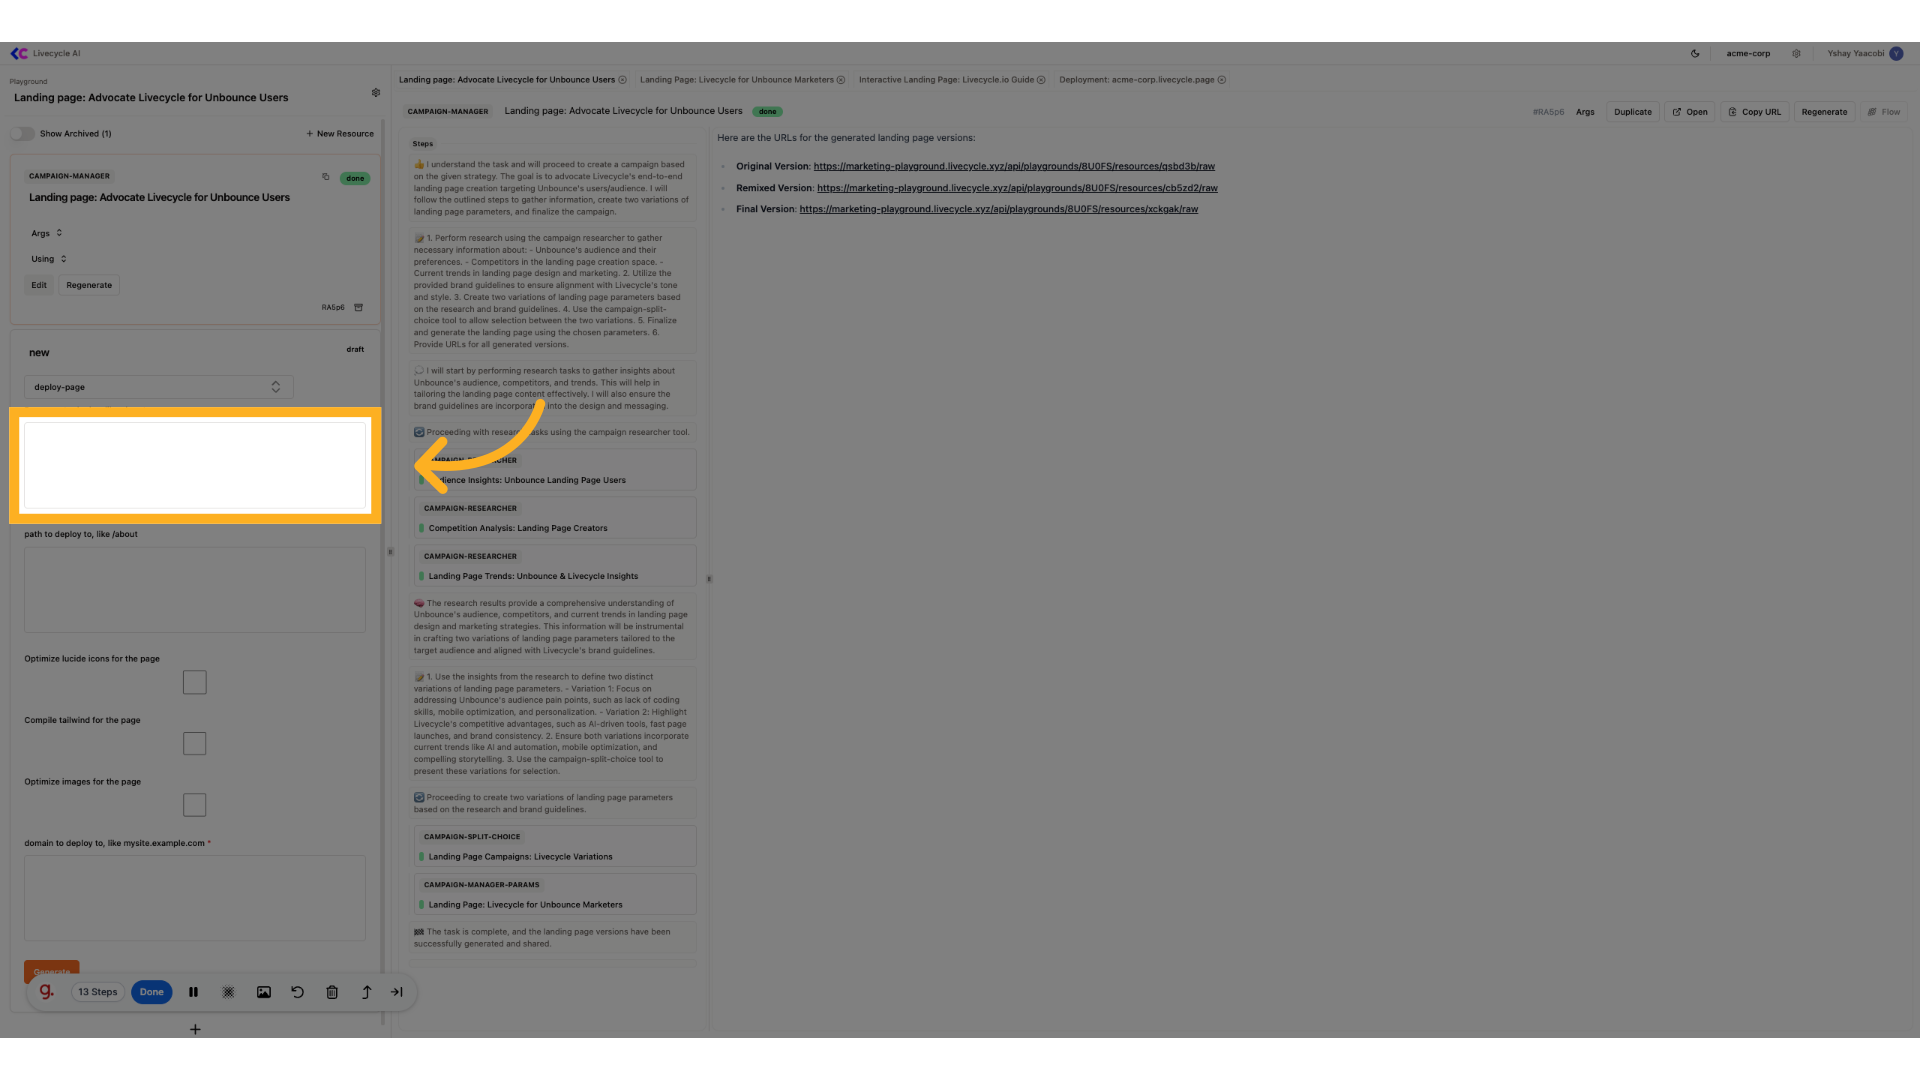
10. Paste our page url
Here we need to pass our resource url that we copied from before
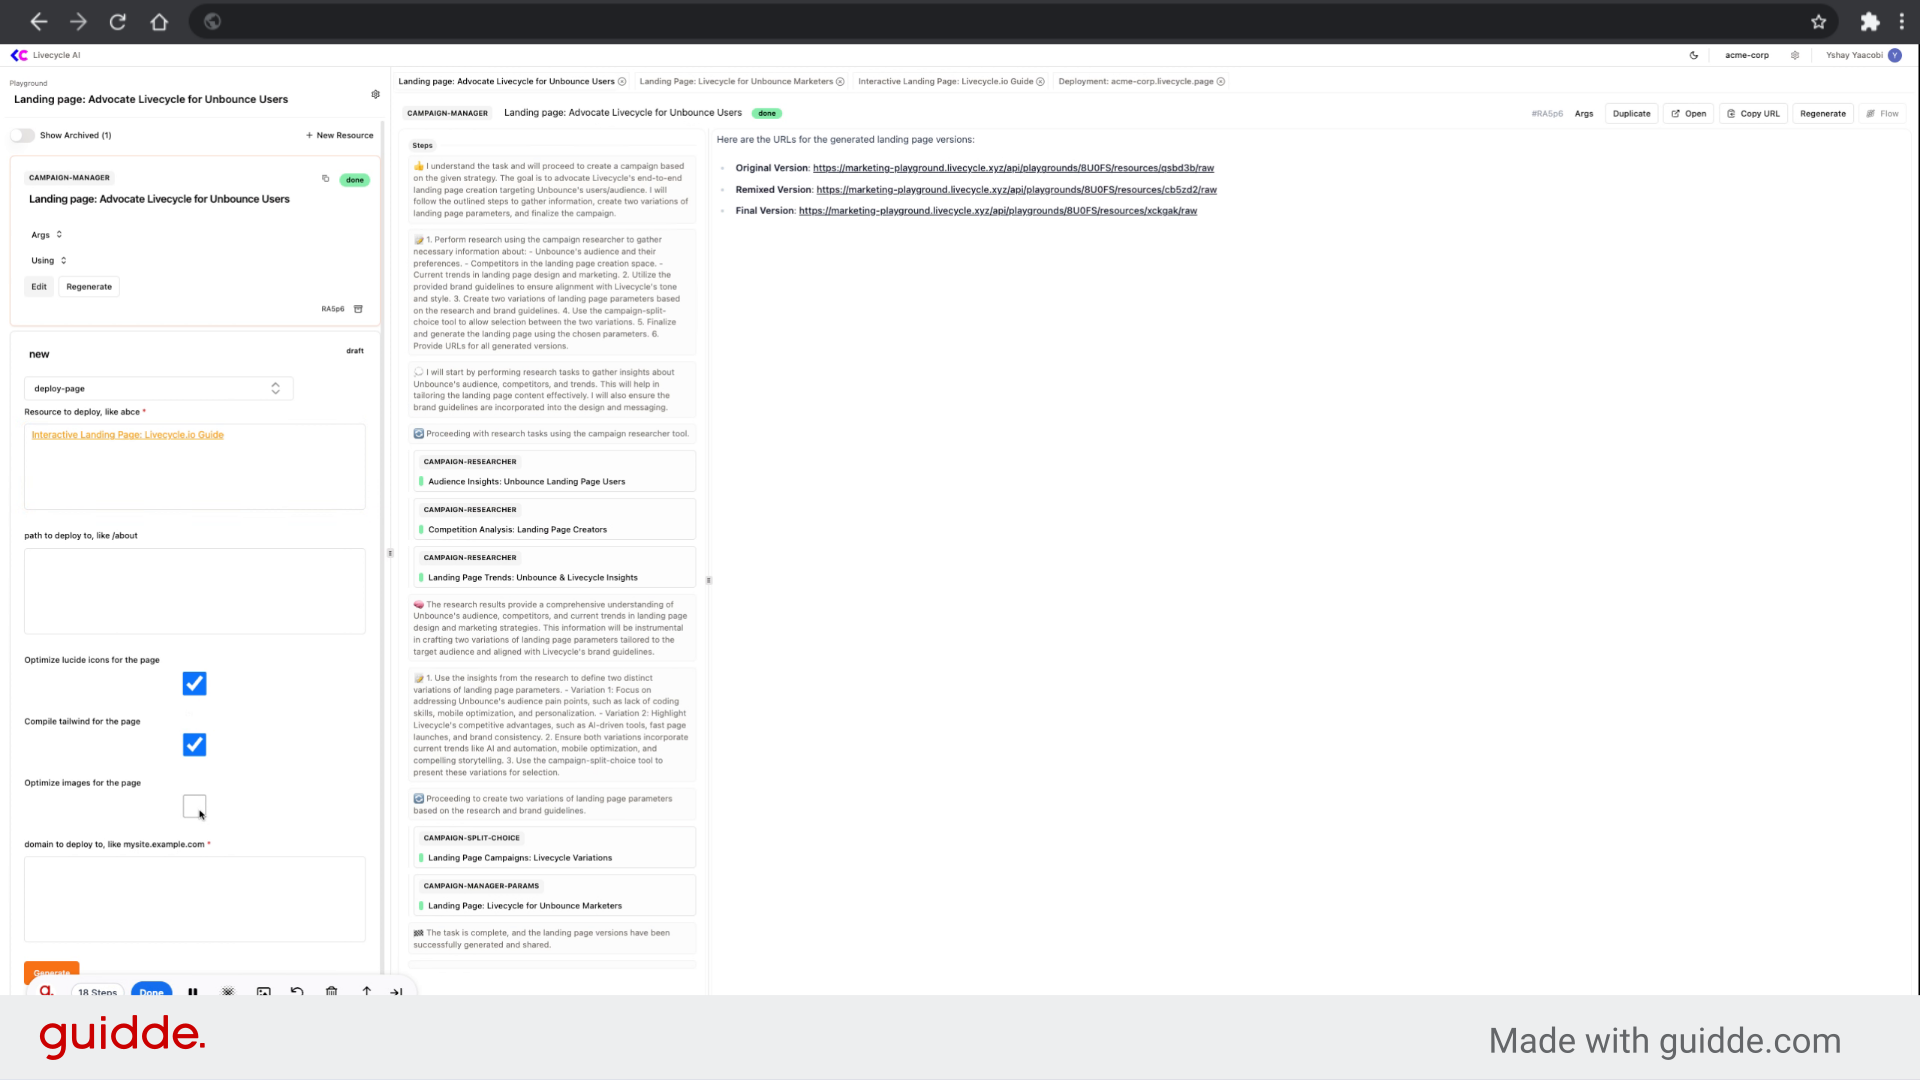
11. Choose optimization features
Check all optimization options for best performance
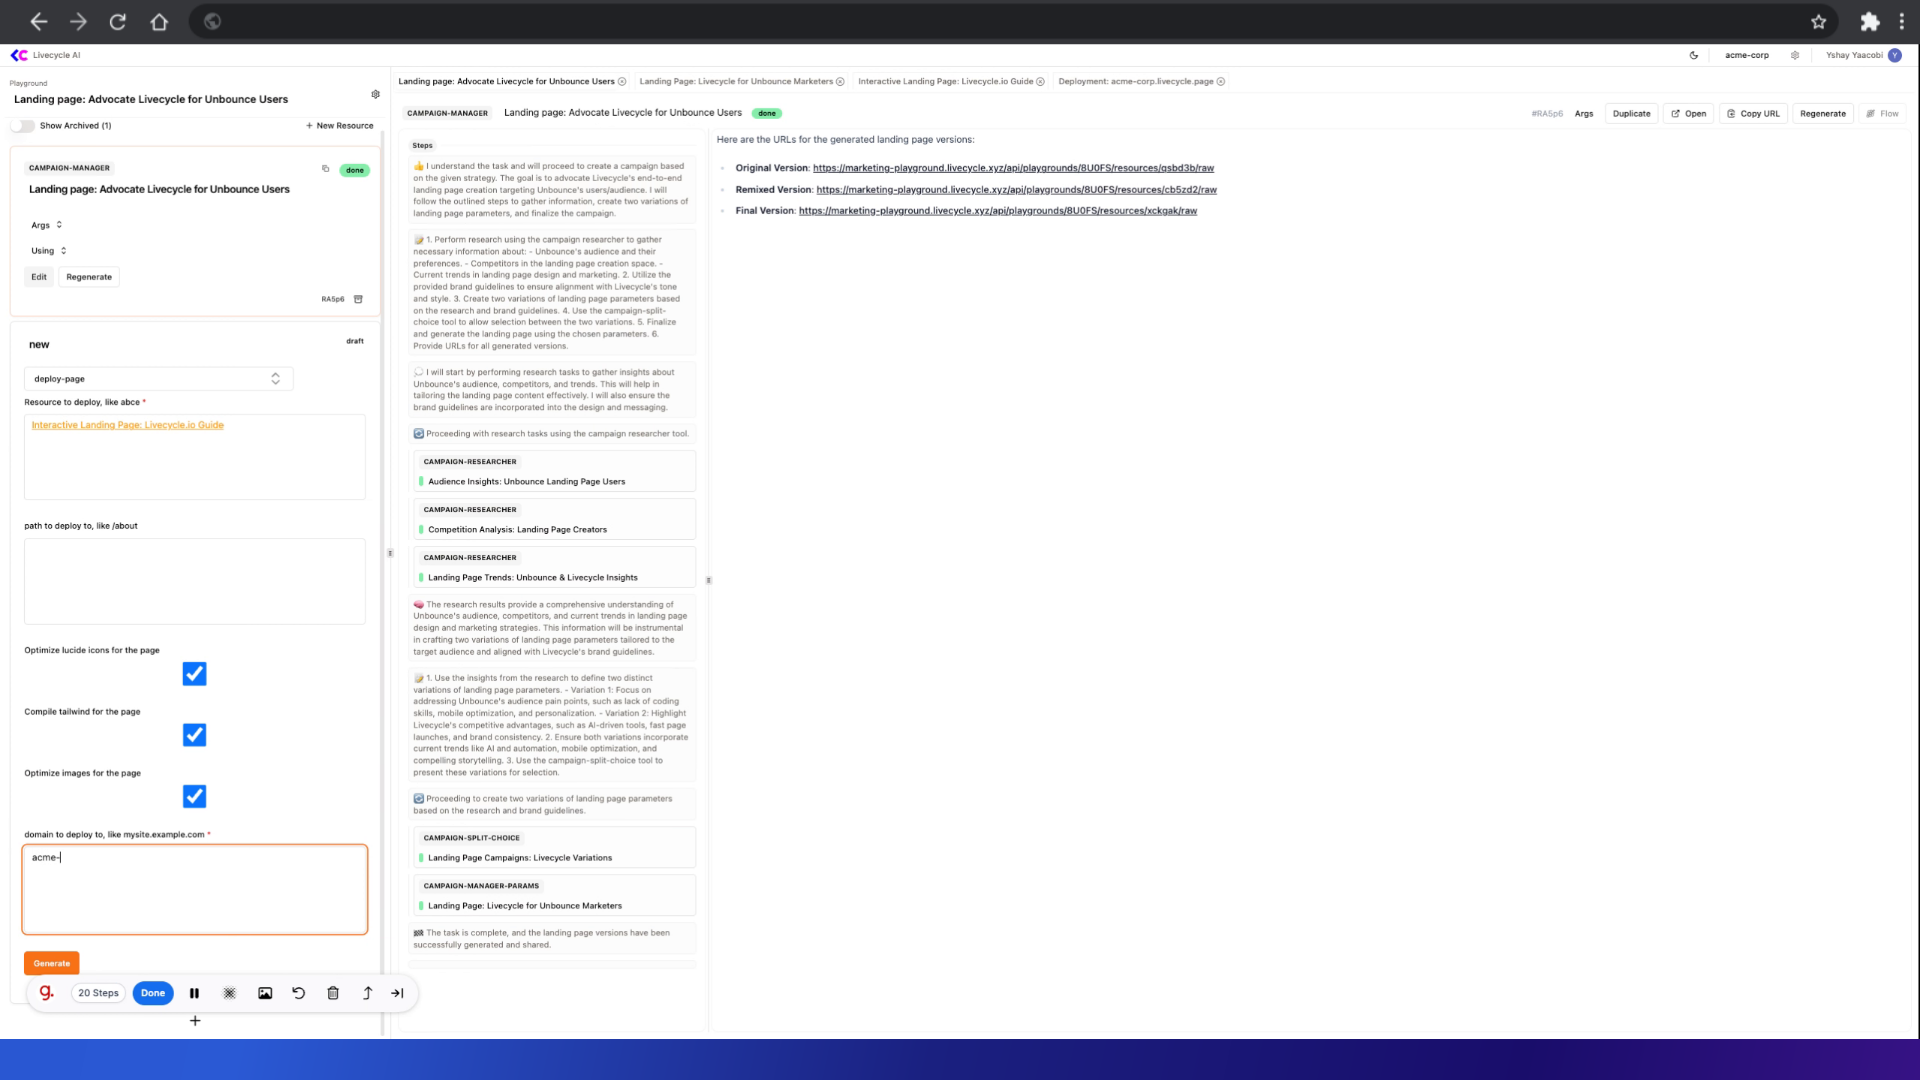
12. Enter your domain
You can use any subdomain with *.livecyle.page, such as acme-corp.livecycle.page. You can also user your own domains, but it requires additional configuration
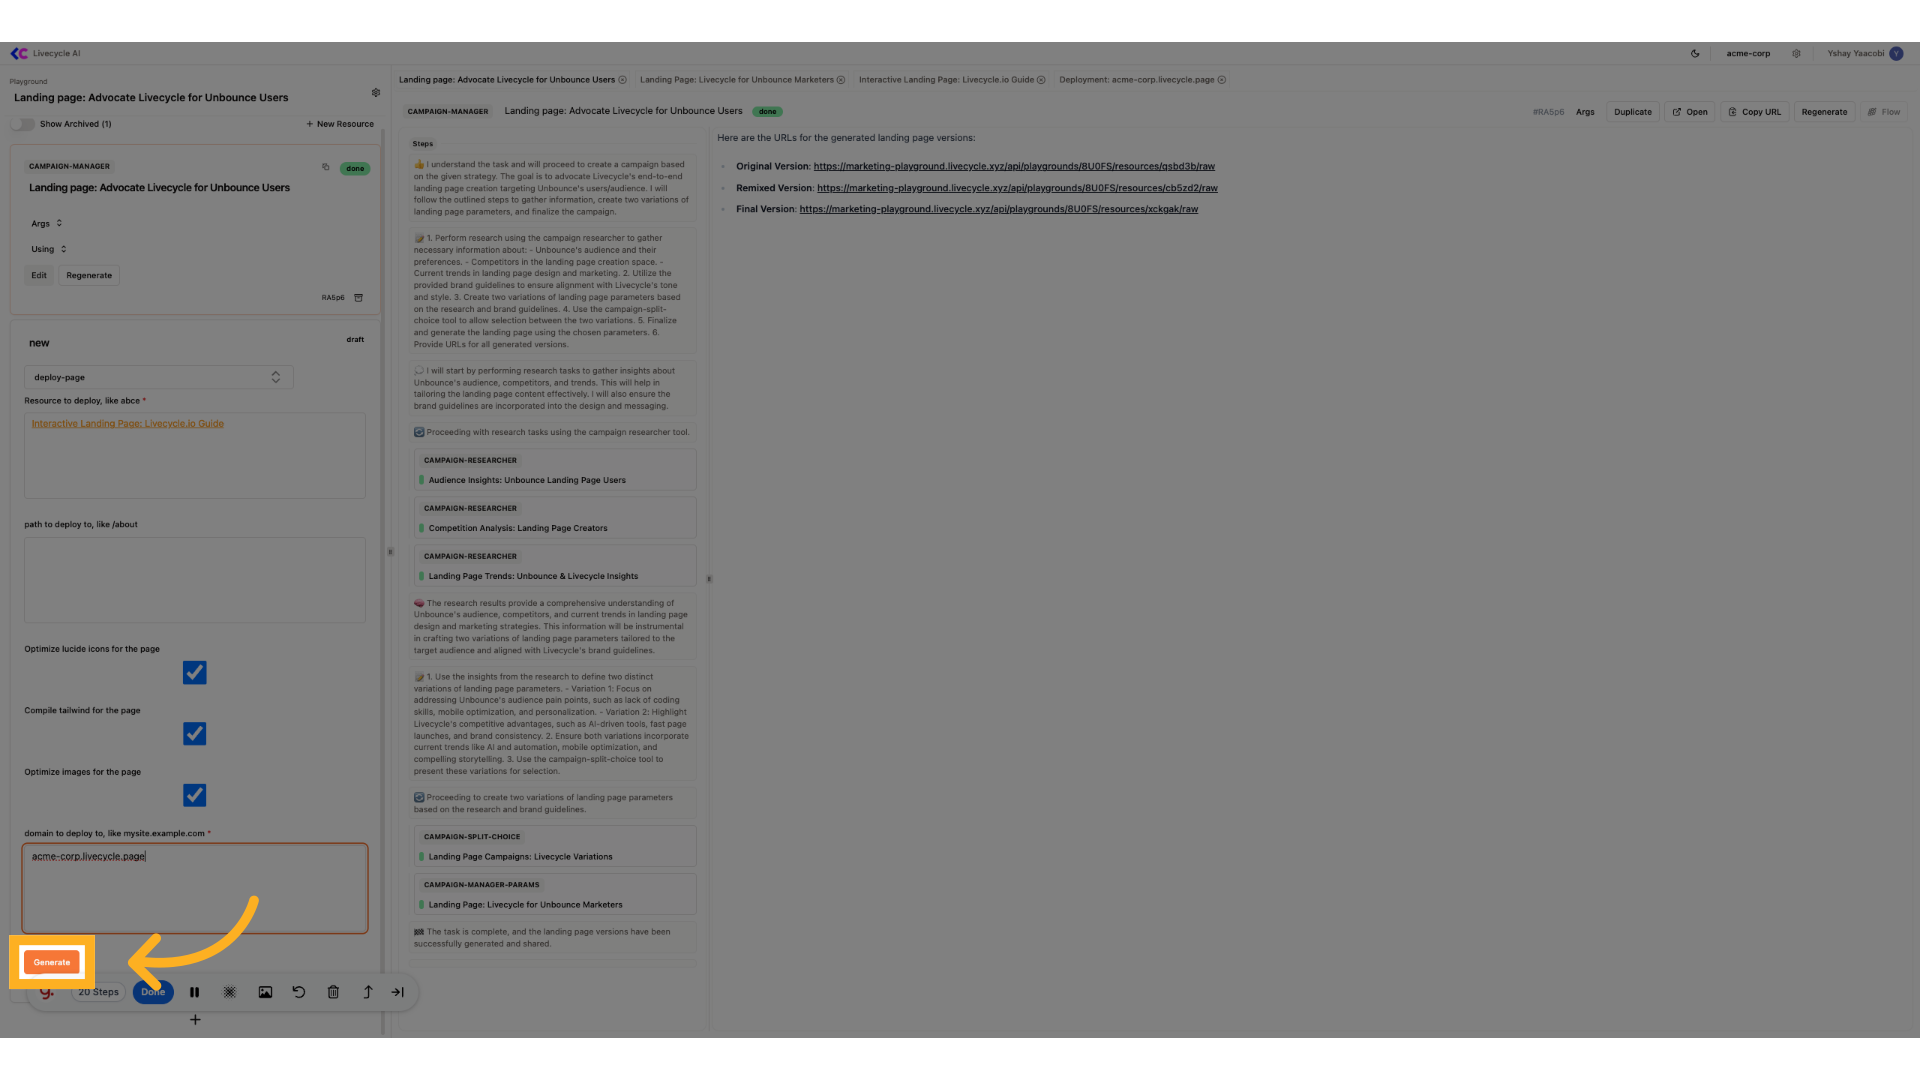
13. Click "Generate"
Generate the required content.
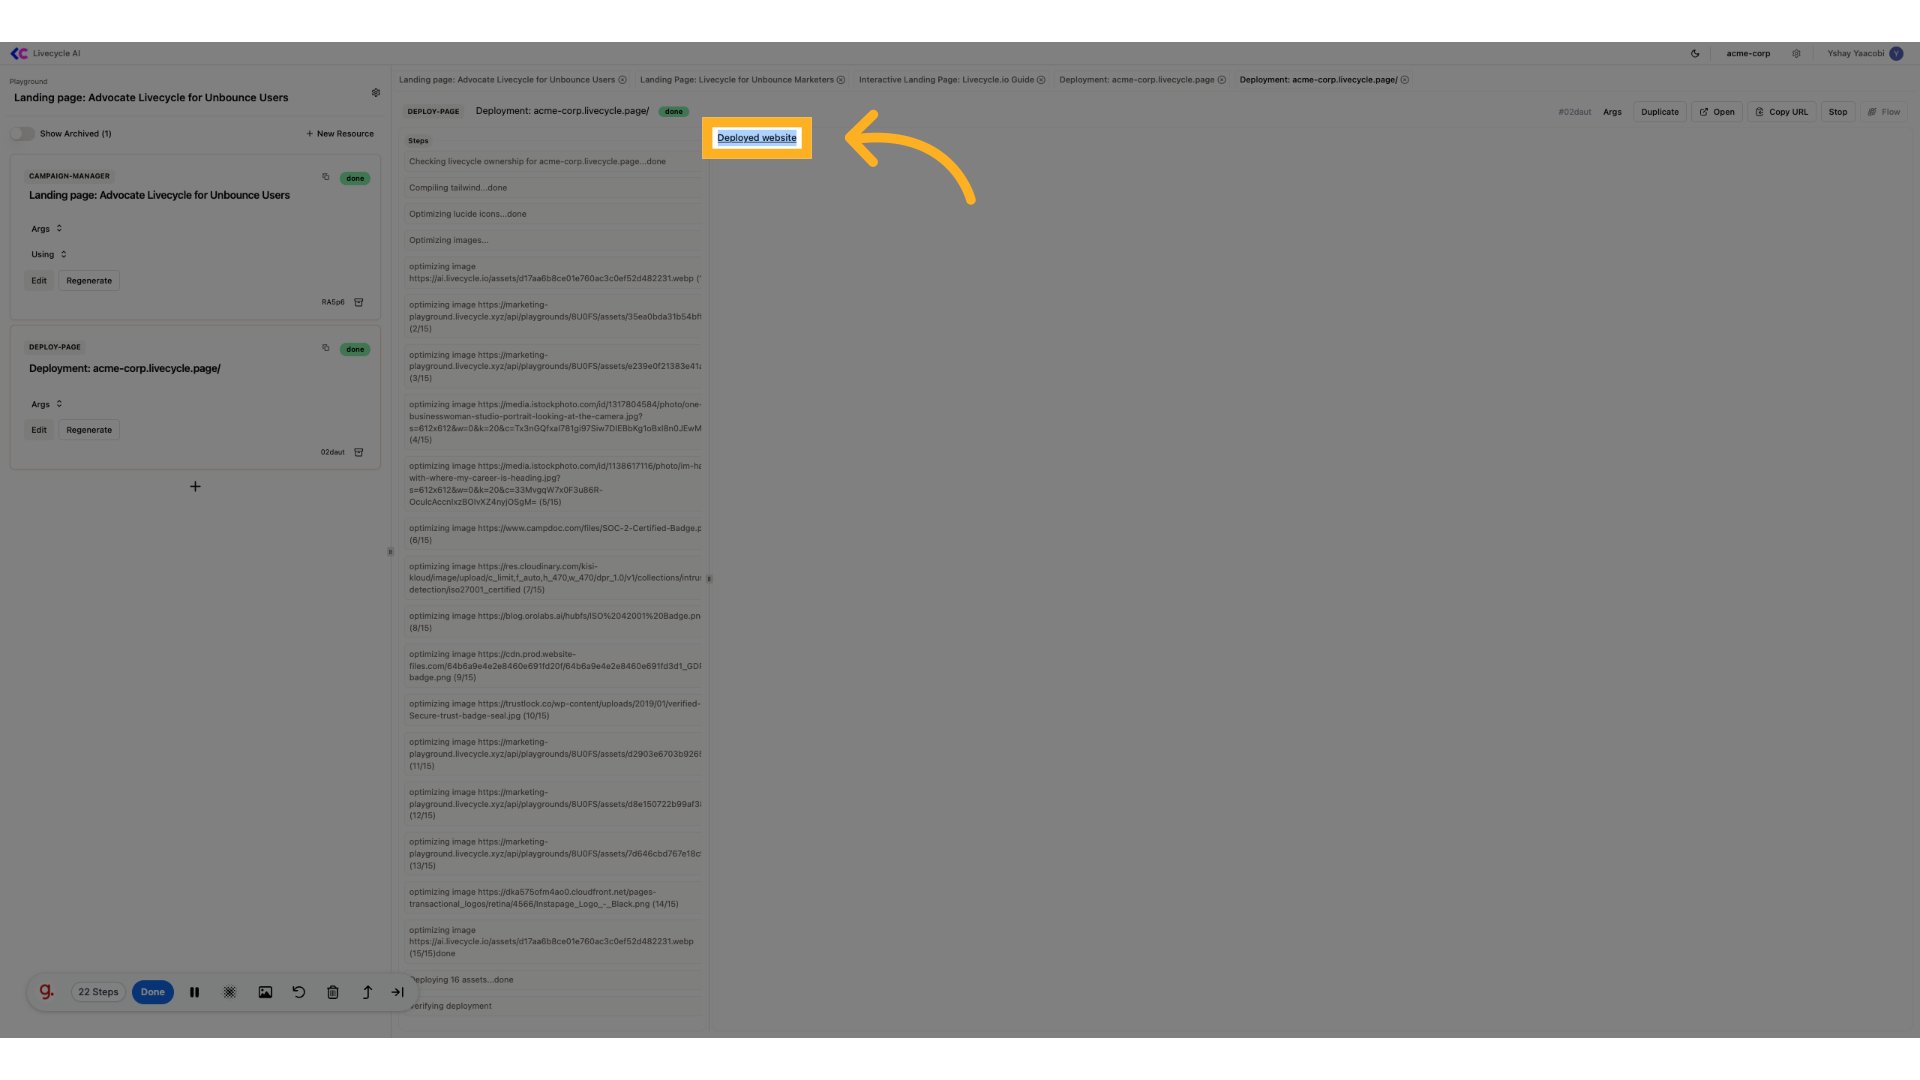
14. Click "Deployed website"
Access the deployed website.
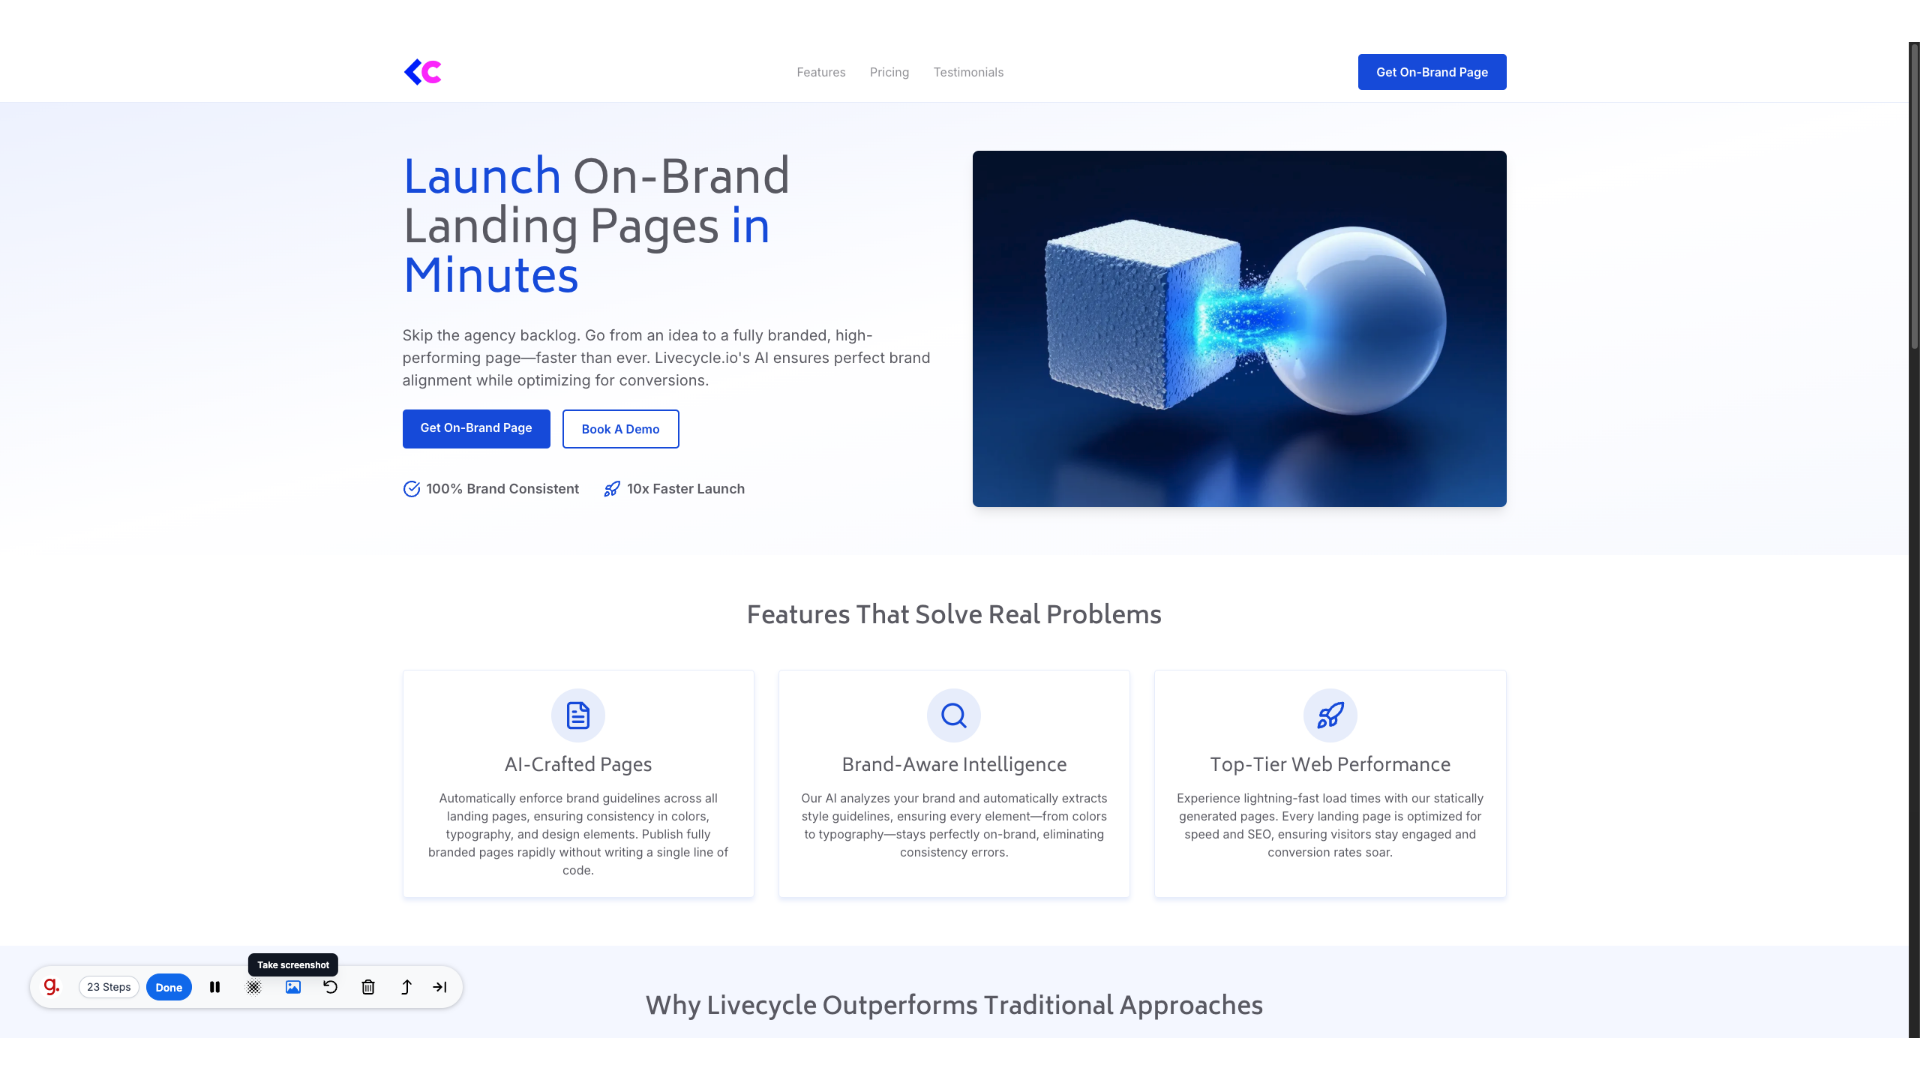
15. View your deployed and optimised landing page
View your deployed and optimized landing page
The guide covered the step-by-step instructions for deploying a page in Livecycle.